The Lazy Girl’s Guide to Cheese and Marmite Scones

20140214-171435.jpg

Marmite – are you a lover or a hater? My sister says she’s in between, but I don’t believe her. You can’t be on the fence where Marmite is concerned.

I’m a lover. To the point that I will have double Marmite, on everything.

Mike’s a hater. He can’t stand the smell of it, the sight of it, he won’t even kiss me when I’ve eaten it. Oh dear… This relationship is doomed.

Nothing, in my opinion, goes better with Marmite than CHEESE. Yum! A nice, thick hunk of extra mature Cheddar. Oh yeah.

On the whole, we are a family of Marmite lovers (black sheep Mike aside). So when a close family member was recently taken ill, I wanted to bake something for her to cheer her up. A short internet browse later and I had come across not one, but two recipes for Cheese and Marmite scones. It was a sign!

This recipe is adapted slightly from both BBC Good Food and Scarletscorchdroppers. And it is THE EASIEST AND QUICKEST scone recipe you will ever come across. These babies went from being raw ingredients to being on my plate slathered in butter within half an hour. Can’t complain at that!

Oh… And just before we begin… They’re pronounced “scon” NOT “sc-oh-n”.

Now that we’ve got that settled, here’s the recipe.

Ingredients

280g self raising flour

1 tsp baking powder

50g butter or baking spread (I used Stork)

90g extra mature Cheddar cheese

1 large egg

2 tbsp Marmite (throw in an extra tbsp if you’re proper mental)

5tbsp milk

Method

— Preheat the oven to 190 degrees Celcius. Prepare a baking tray by cutting a piece of baking paper to size and stick it to the tray using a dab of Stork.

— Next, take a food processor and put in the flour, baking powder and Stork. Pulse until it looks like bread crumbs. You can do this by hand if you don’t have a food processor, but it’s not nearly as lazy or as quick!

— Add in 50g of the cheese and pulse again. Mix the egg, Marmite and milk in a jug and whisk until combined, then pour into the food processor and pulse again until it’s all mixed in.

— Remove the dough from the food processor and knead a couple of times on a lightly floured surface, just to bring it all together properly. Remember – with scones, the less you handle them, the better, so keep it to the bare minimum.

— Roll out the mixture to about 2 cm thick. Take your scone cutter and cut out circles. Don’t twist the pastry cutter as you remove the circles as this action will prevent the scones from rising as well as they could.

— Once you’ve cut all your scones (you should have about 8), place them on the baking tray, brush the tops with a dab of milk and scatter over the remaining cheese. Bake in the oven for between 10-15 minutes (mine took 13). Keep an eye on them to make sure they’re rising and remove them when they’re golden brown.

— Leave to cool slightly then eat them warm with some butter on them… Or if you’re really crazy, add a couple of slices of cheese, a smear of Marmite and sandwich together.

20140214-171444.jpg

20140214-171456.jpg

20140214-171512.jpg

20140214-171527.jpg

20140214-171601.jpg

20140214-171615.jpg

Caramel Cupcakes Pop KitchenAid Cherry

So excited was I to use my new toy (see my previous post about my new KitchenAid), I hot-footed it down to my local supermarket and stocked up on baking supplies in preparation for a mammoth session.

I searched through all of my recipe books looking for the perfect recipe to test out and decided on some yummy caramel cupcakes. I’d never made these before so just had to give them a go!

I also had some posh purple cupcake cases which I had for a Christmas present last year (!) which I hadn’t got round to using yet. I kept waiting for a special occasion, and what better than this.

20131130-132319.jpg

They are from the Bath Cake Company on Lansdown Road in Bath, a fantastic little find well worth taking the short walk out of the centre to peruse their shelves. Not only do they sell an abundance of baking supplies, but you can also treat yourself to some freshly baked cakes as well!! Om nom nom.

You can check them out here: http://www.bathcakecompany.co.uk/

Anyway, onto the recipe.

Ingredients

Cake

175g butter, softened

175g light muscovado sugar

2 large eggs, lightly beaten

175g self-raising flour

2 tbsp milk

Frosting

397g can Nestle Carnation Caramel

200g tub soft/cream cheese

100g salted butter, softened

450g icing sugar

Method

— Heat oven to 180 degrees and pop your cupcake cases into a muffin tin. This recipe should make about 12 cupcakes.

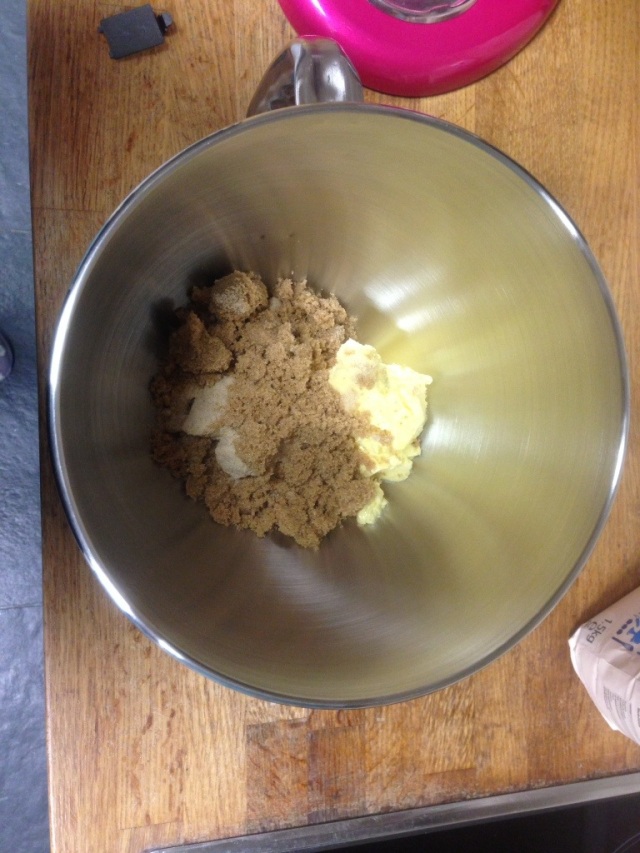
— Cream the butter and sugar in a bowl. I used the KitchenAid on level 2, rising to 4 and then 6. Beat until soft and pale. Add a handful of the flour to stop the mixture from curdling, then with the mixer still going, add a little of the eggs at a time.

20131130-132444.jpg

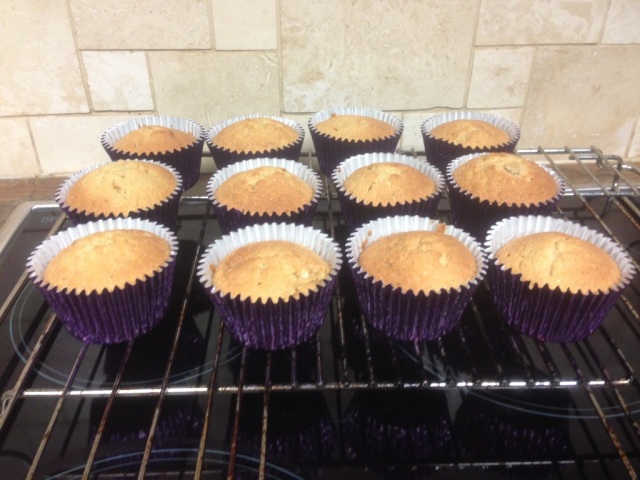
— Next fold in the flour and milk until fully incorporated. Divide the mixture between the cases (fill them up to about two thirds full) and bake for approximately 18 minutes (the exact amount of time will depend on your oven – check them after 15 minutes). The cakes should be golden brown and spring when you touch them. Leave to cool fully.

20131130-132550.jpg

— Mix half of the can of caramel with the cheese, butter and icing sugar with your stand mixer or electric whisk. **TIP – Cover your stand mixture bowl with a tea towel or your kitchen may end up looking like it’s snowed… Like mine did!!)**

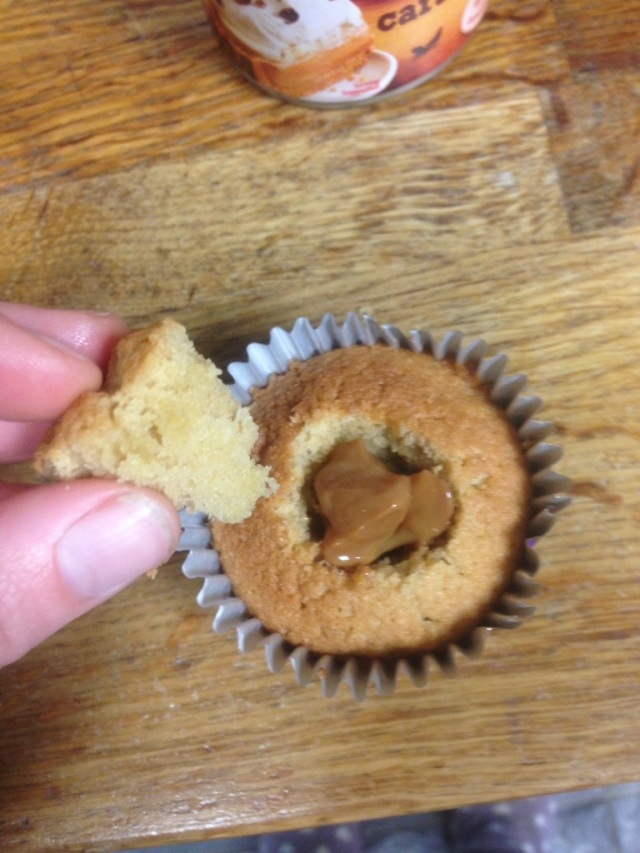
— Chill in the fridge. Meanwhile, cut a small section out of each cupcake using a knife and drop a half-teaspoon of caramel into each one. Put the cut bit of cake back on top.

20131130-132853.jpg

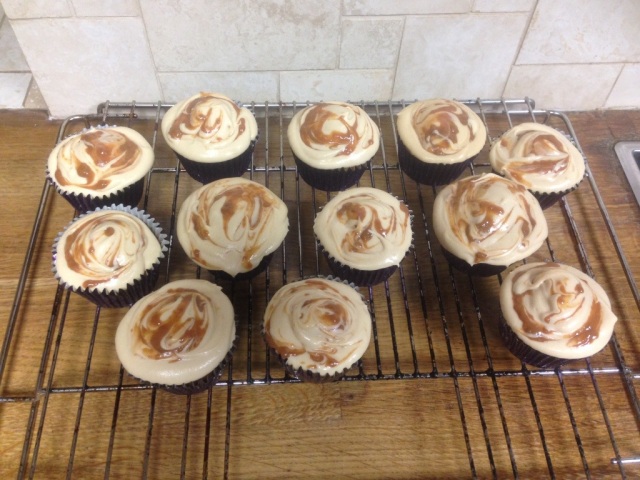
— Ice your cupcake with the frosting however you want! I used a Wilton 1A piping nozzle, the big round one, and a disposable piping bag.

— I had some caramel left over, so I dropped spots of it onto the frosting, and swirled it with a skewer to make a nice pattern.

20131130-132627.jpg

— Make yourself a nice cup of tea and feel smug 😀 Then eat a cupcake and feel slightly sick!

NOTE! I found with the original amount of icing sugar that the frosting was far too runny so added some more sugar to the mix. Although the cupcakes were delicious, they were VERY sweet and you definitely couldn’t have more than one! (Probably a good thing). Next time I will add a few flakes of sea salt to balance the flavours out a little… And who doesn’t like salted caramel?!

Also – this makes a LOT of caramel frosting so I have a load left over which I have put in the fridge and now need to bake something else to use it up! Any suggestions? Have any of you tried this recipe? I’d love to hear how you got on!